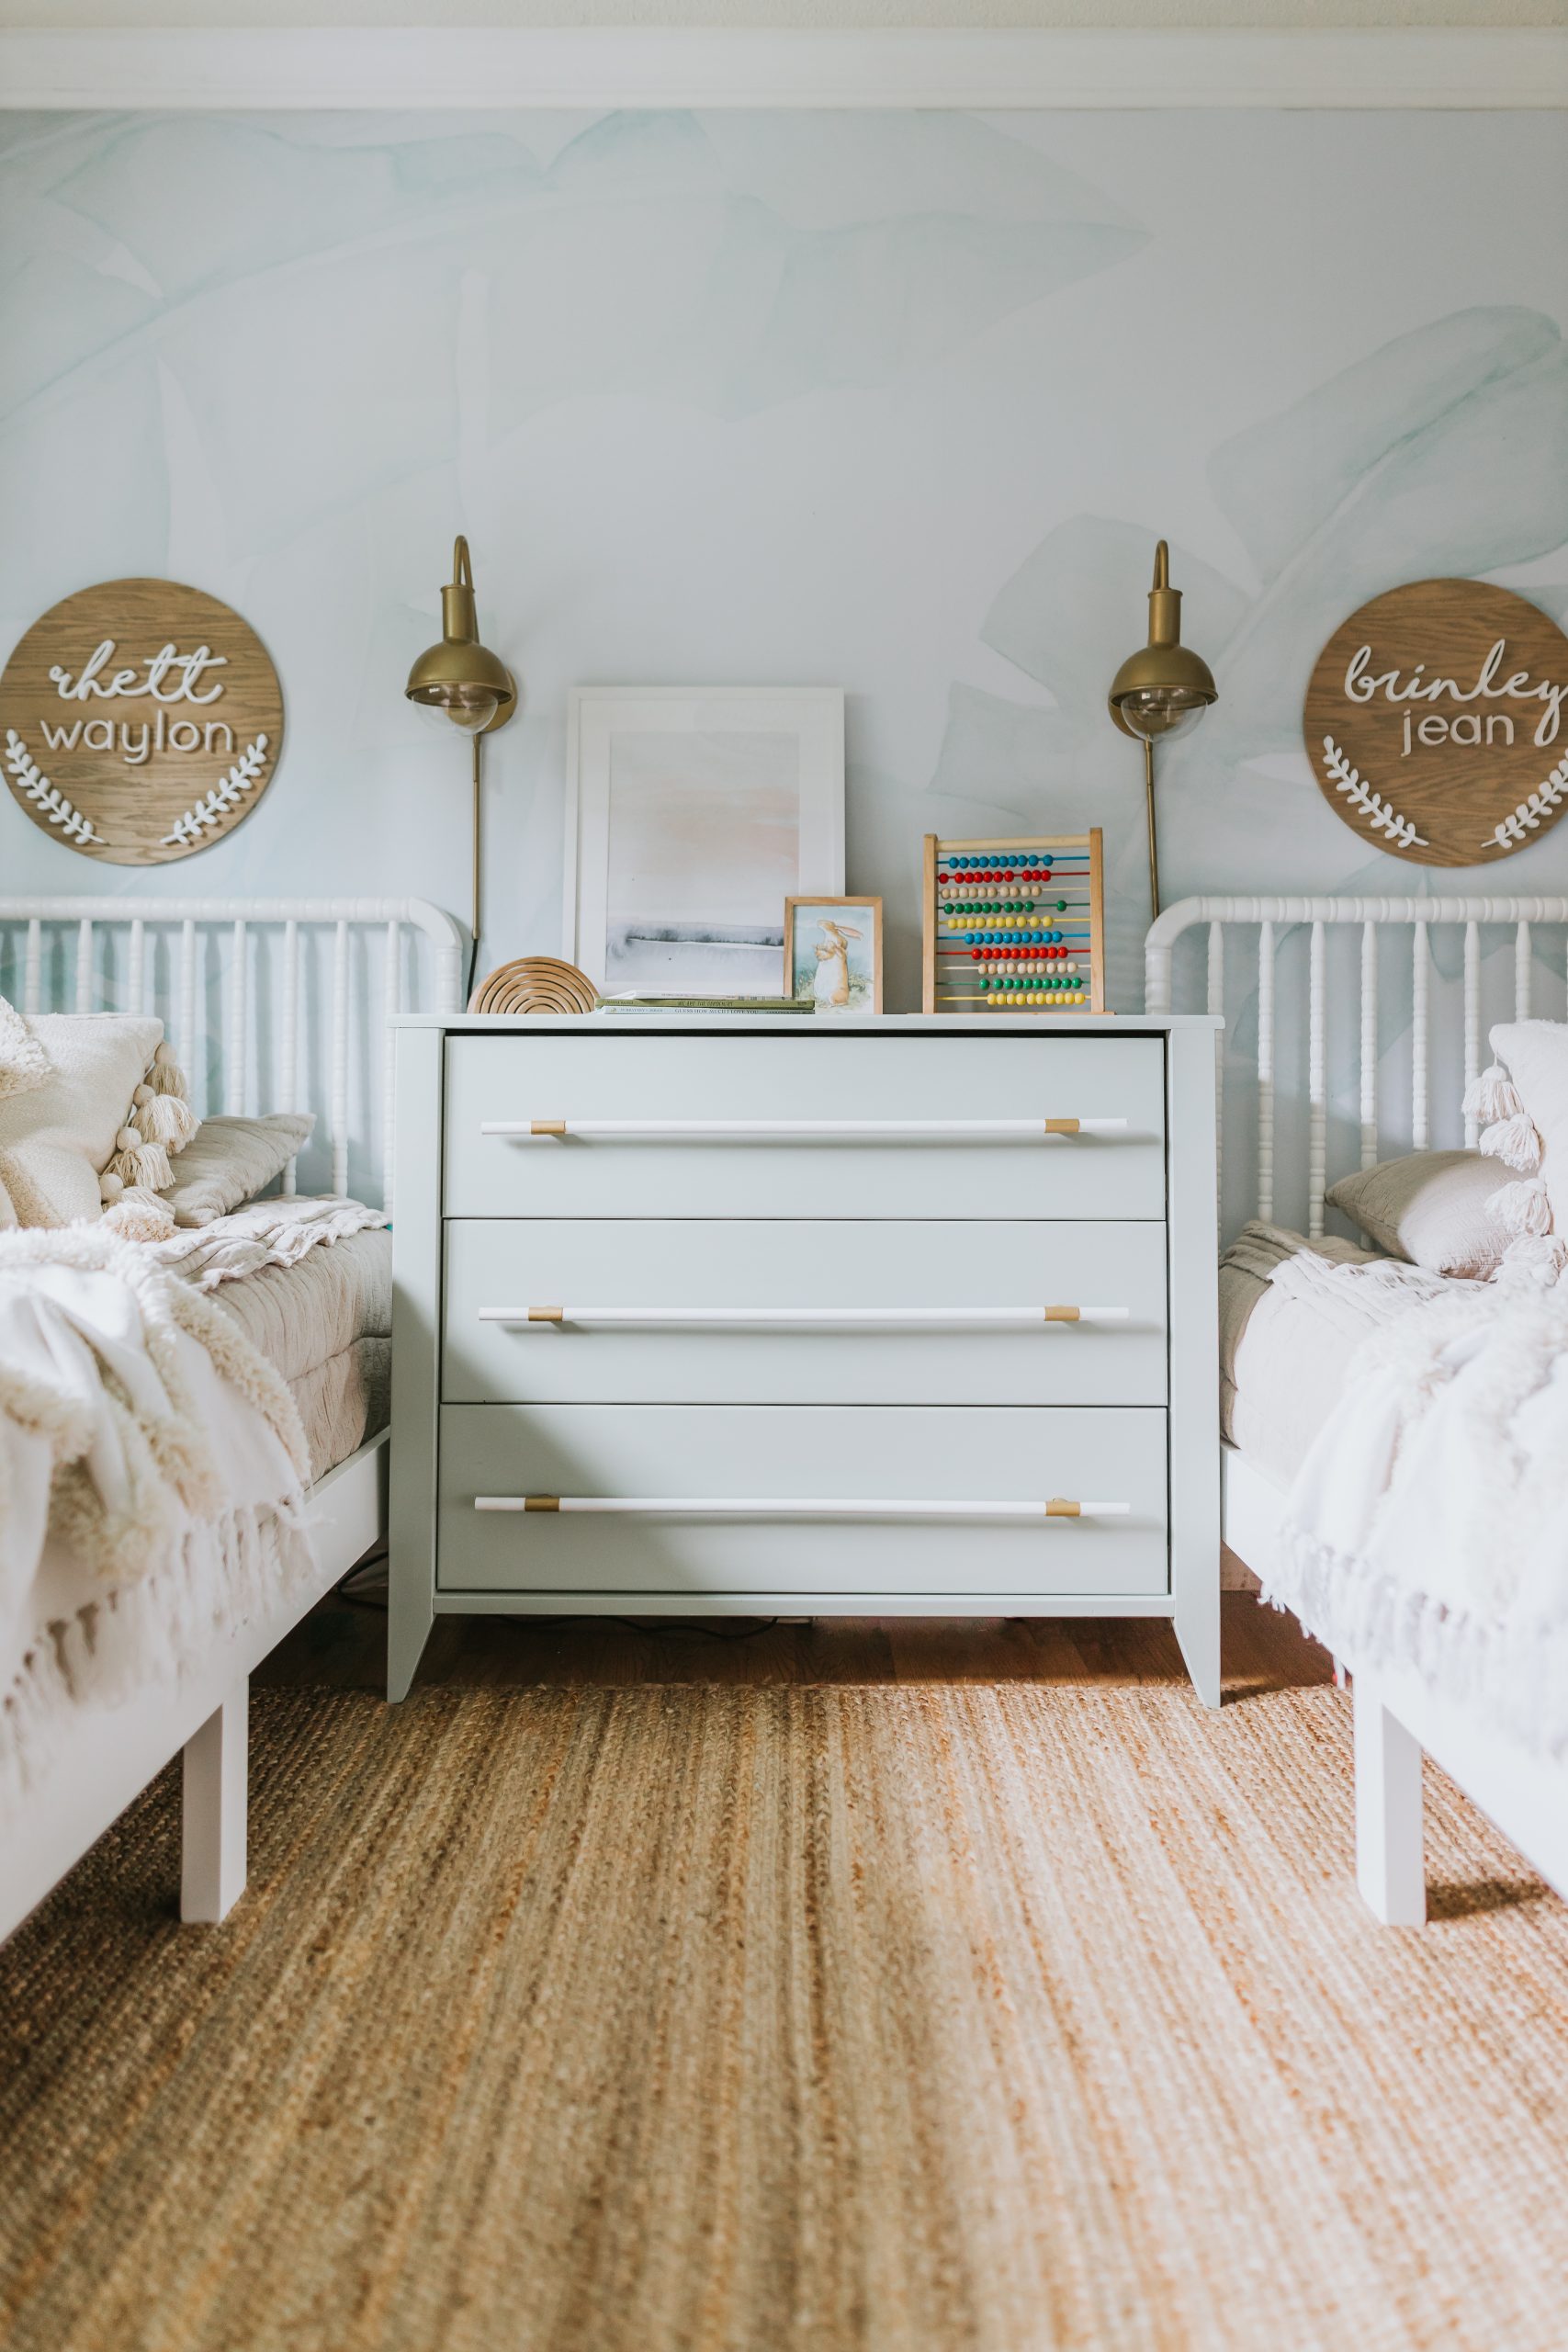
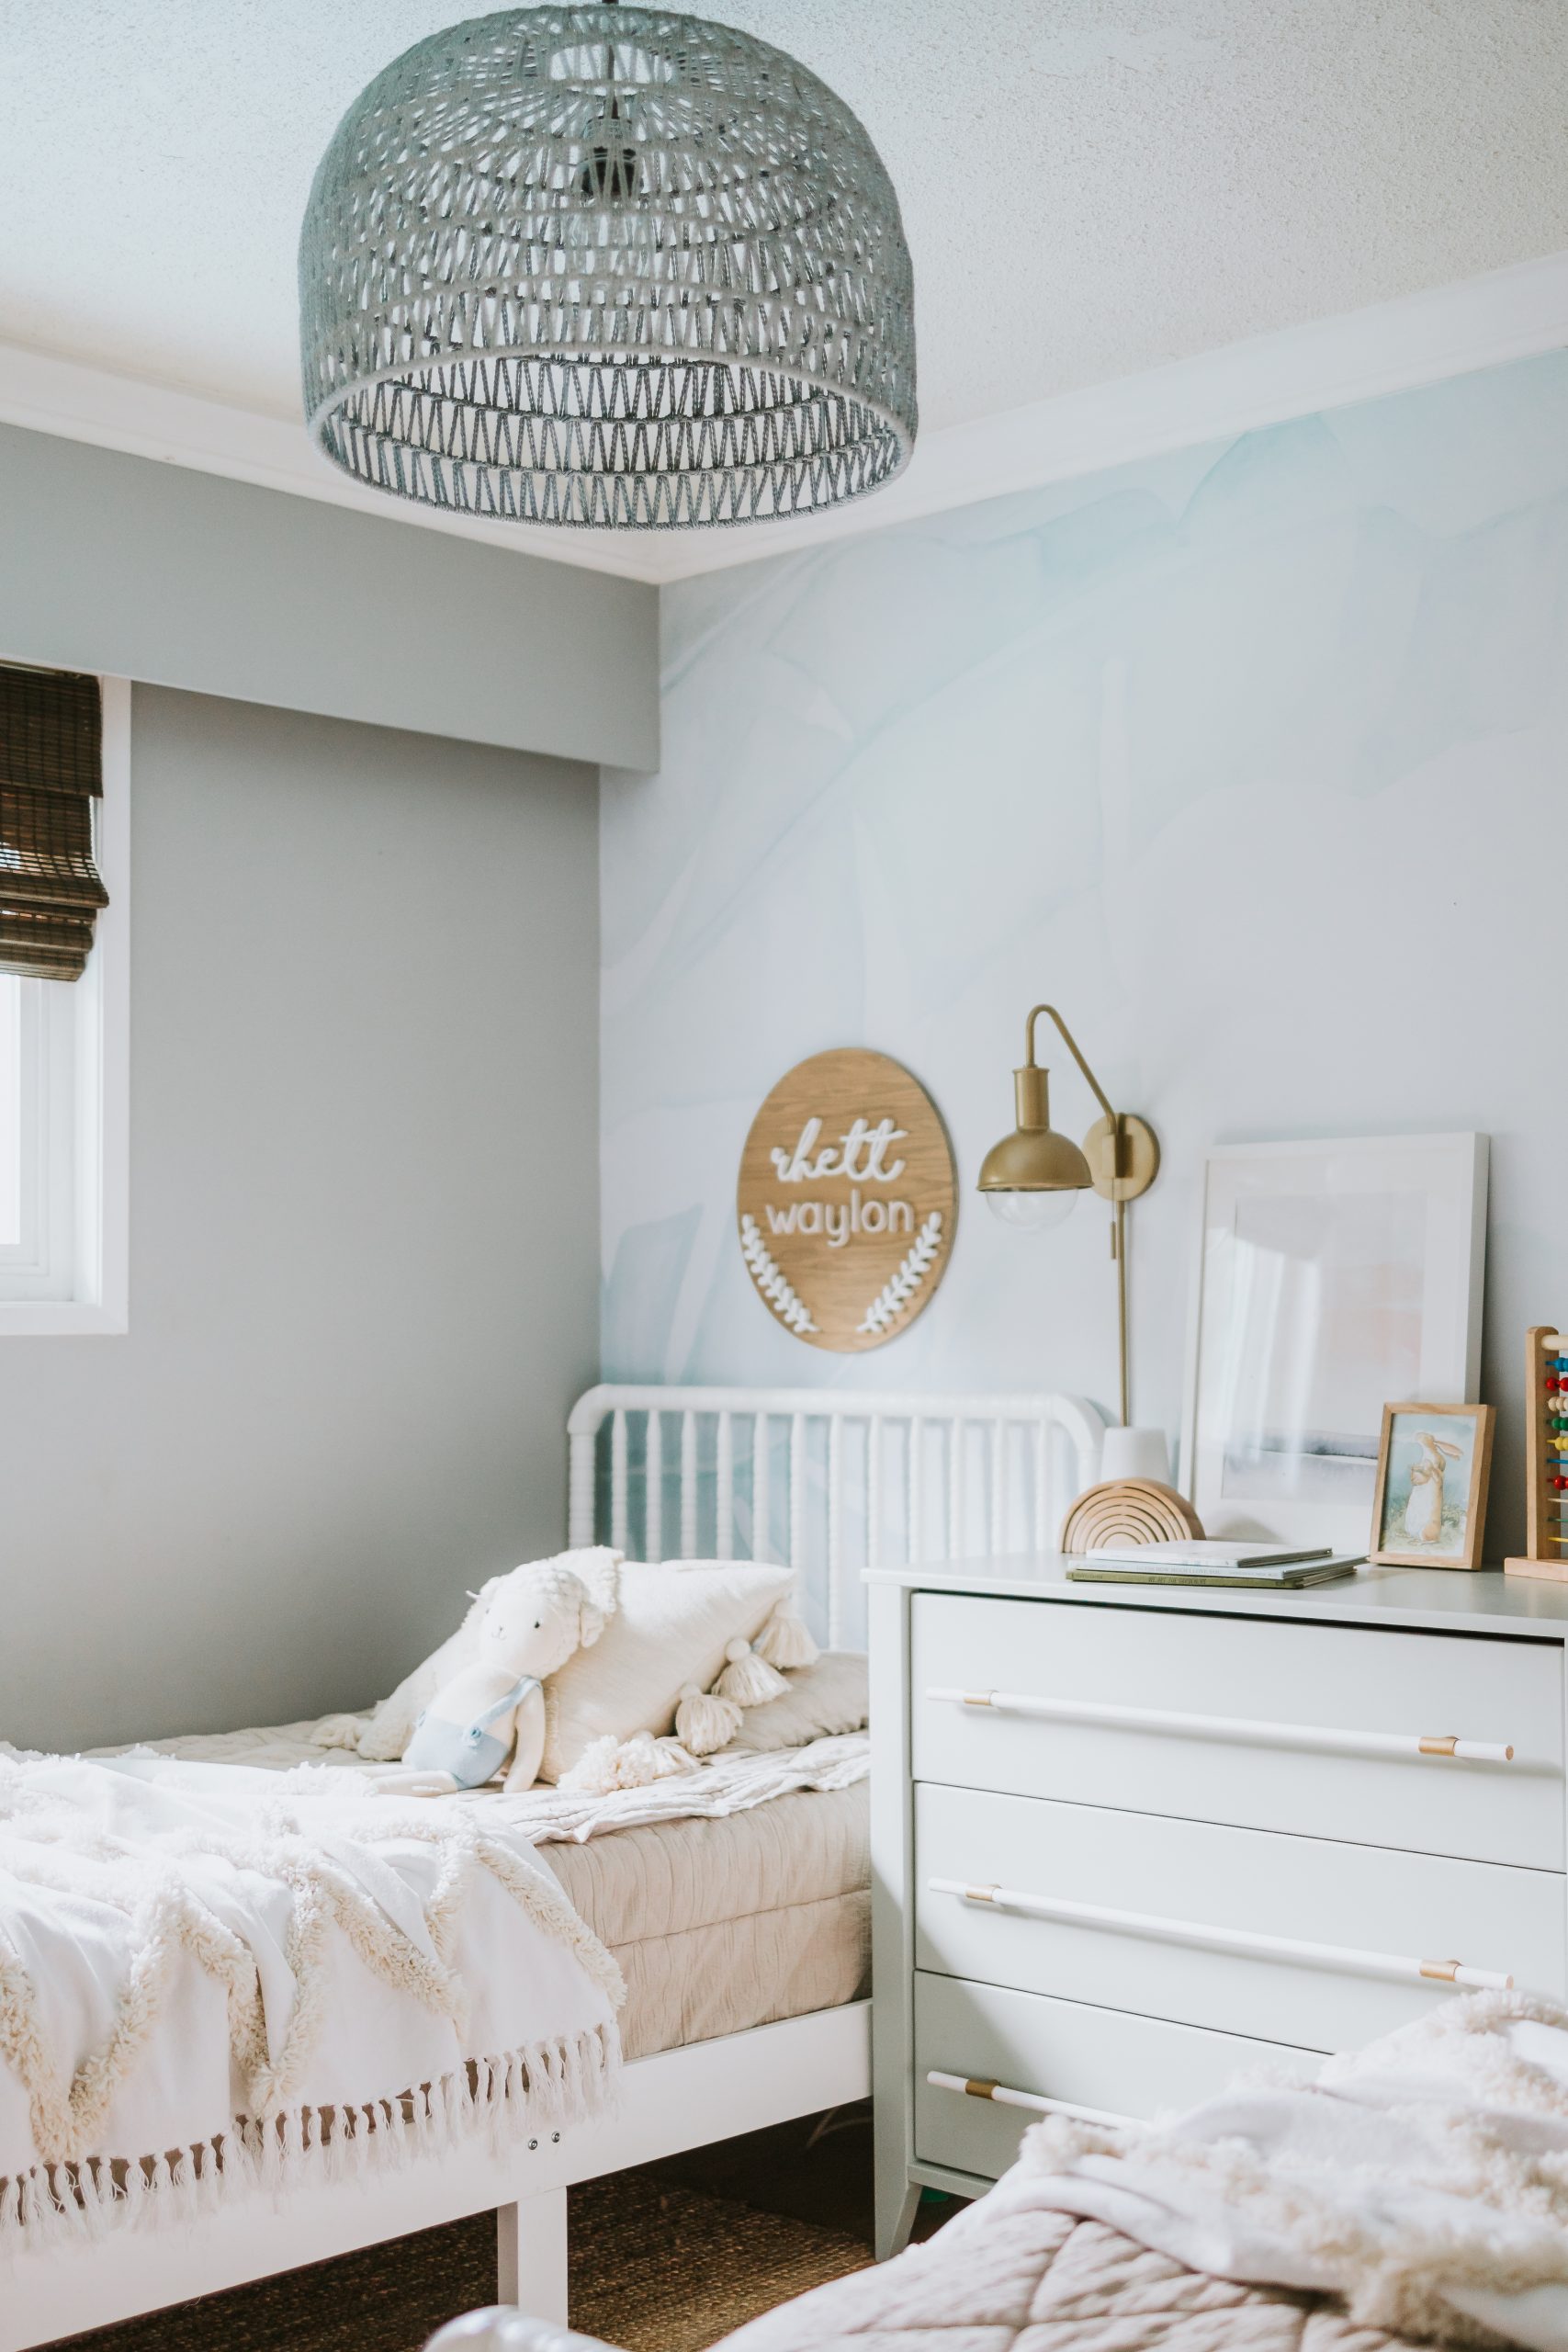
This dresser makeover with dowel handles was so much fun! It took under 3 hours to do 3 coats of paint and the dowels were super easy to put together. Here’s how I saved a dresser we almost threw out!

I started off by doing a little research in how I wanted my dresser makeover to look like. I first was planning to just paint it a sage green, but then I came across this dresser and I knew I had to try and replicate it.
I don’t really know how she did hers as there isn’t much of a DIY. So I’ve documented the process on my Instagram in my highlight called “Dresser DIY” and I also documented the process on my Tiktok.
I like to use a flat eggshell paint when painting my furniture and I always use satin polyurethane to give it a durable finish.
Unfortunately, I mixed three different colours to get this colour - so your best bet would be trying to match this paint at your nearest paint store.

For the handles, they are so simple to make. For the best explanation, go to my Instagram ( linked above ) to understand how we did it. You need to allow these handles to set for 24 hours. Once completely dry, they will last forever!
We are in Canada so prices are inflated here, but we spent roughly 7.00 per handle and we got everything at Home Depot. So I’m sure you could find it at any hardware store.
We purchased
-3 dowels at 4′ long
-6 copper plumbing fittings
-Silicone


Questions On Dresser Makeover With Dowel Handles:
Q. What did you use for the handles?
A. 1/2″ Dowels and 1/2″ Copper Fittings. We siliconed them together. Watch my Instagram for a how-to.
Q. Where did you purchase the handles hardware from?
A. Home Depot
Q. What is your favourite paint for Furniture?
A. I often use Behr All-in-one with primer in an eggshell or satin finish.
Q. How do you know if you have to sand furniture down?
A. I typically give everything I do a light sand down. I have painted items without sanding, but by giving a light sand, it ensures your surfaces is fresh and smooth to work on.
Q. What did you seal it with?
So I used a different product than I normally use and it was okay. But this is the product I normally use and it goes on completely clear and satin.
If you have any additional questions, please feel free to leave them in the comments!
Leave a Reply